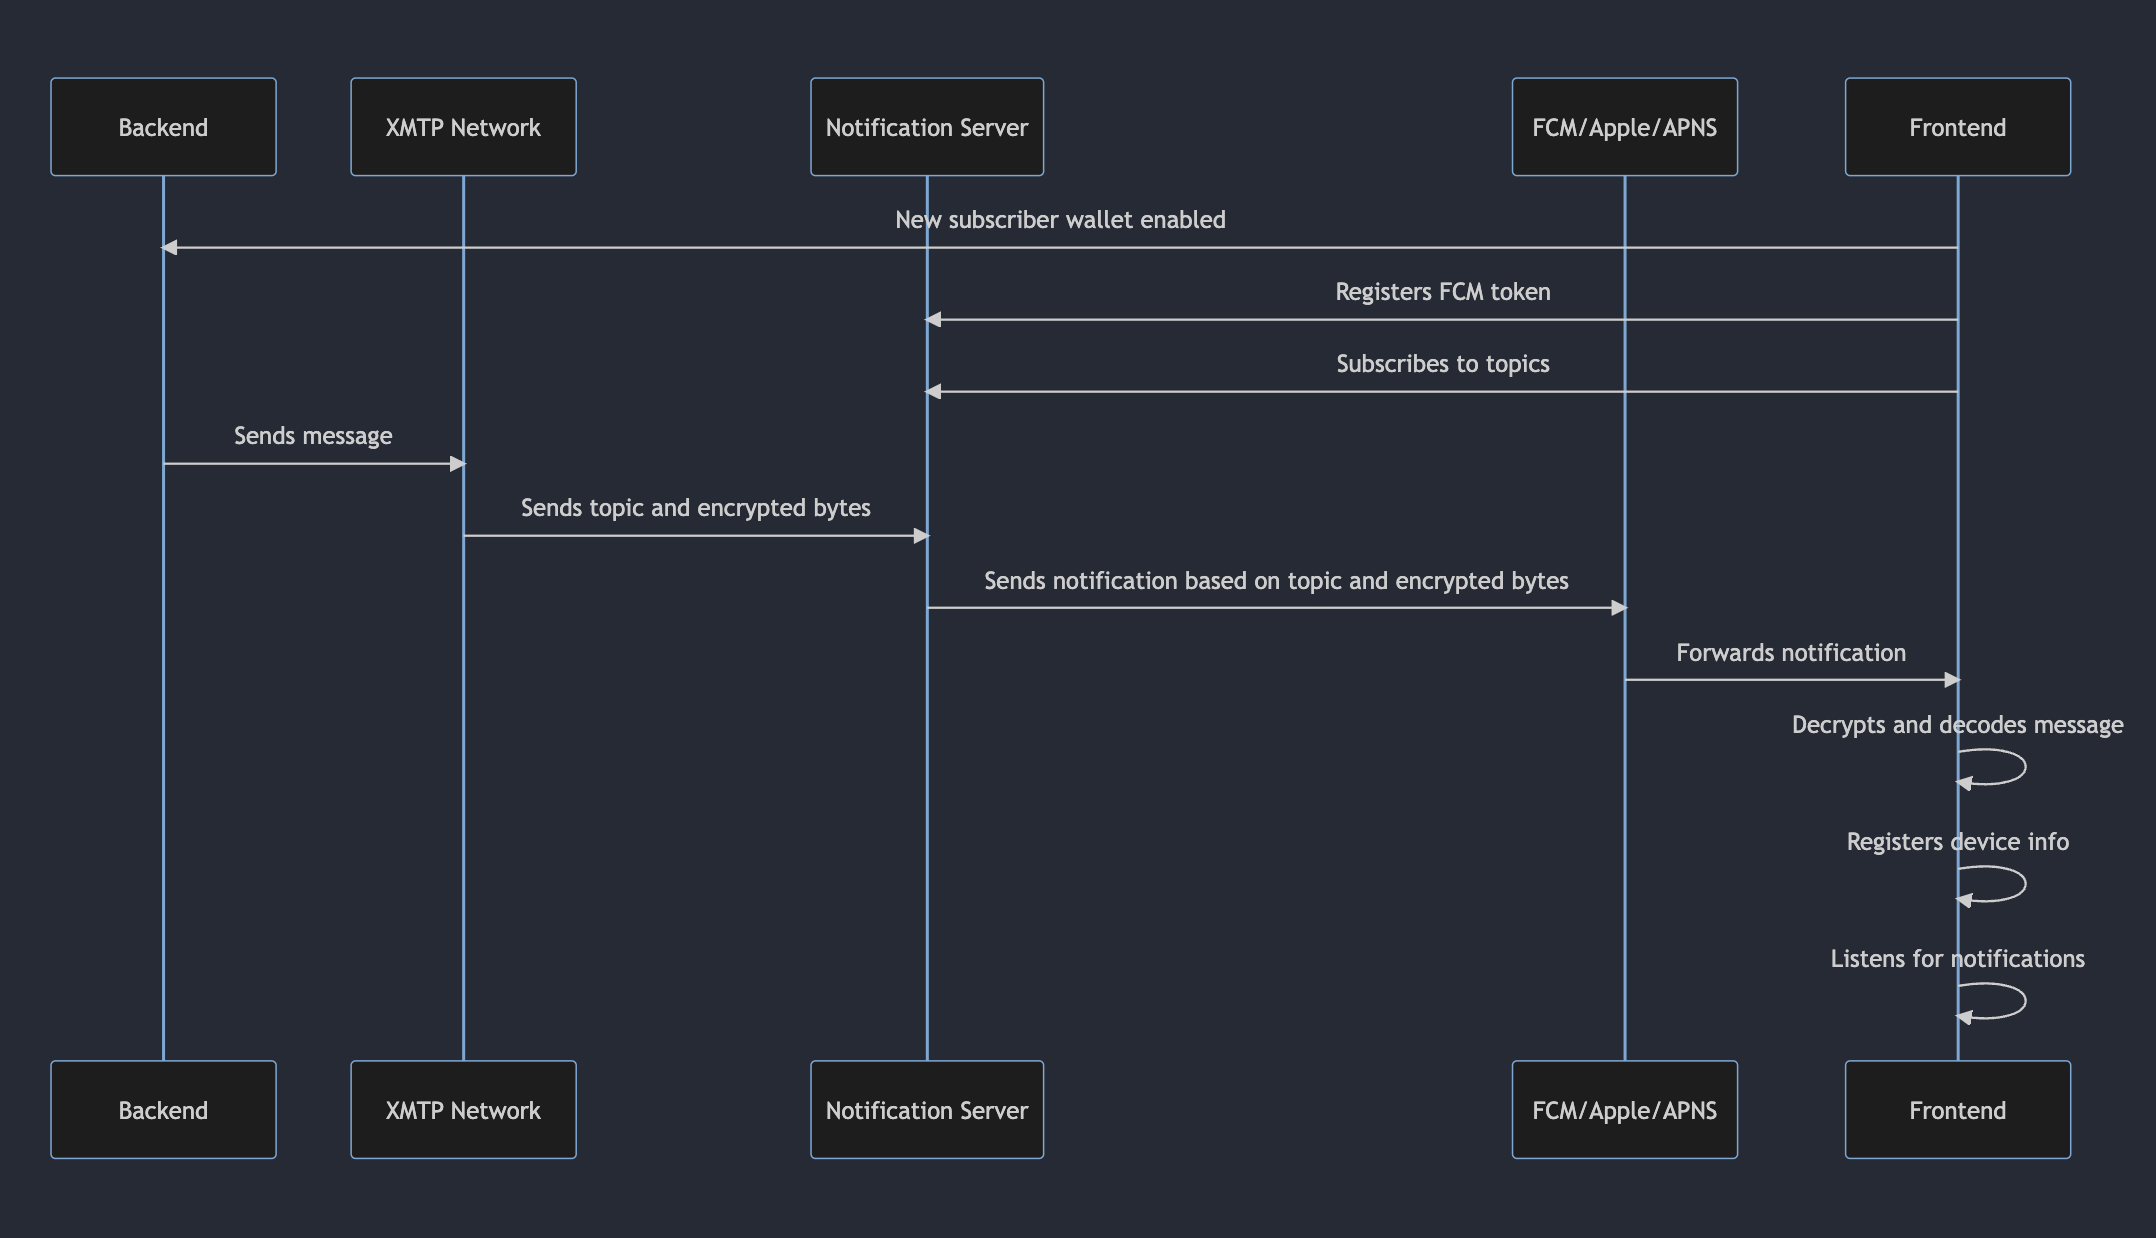
Build push notifications with XMTP
Push notifications can be a highly effective way to engage your users and increase app retention. In addition to providing push notifications for new messages, provide them for new conversations.

Run your own notification server
See the example-notification-server-go for an example push notification server written in Golang that you can use as a reference for how you might provide a server for your app.
This example branch can serve as the basis for what you might want to provide for your own notification server. The branch also demonstrates how to generate the proto code if you decide to perform these tasks for your own app. This proto code from the example notification server has already been generated in the xmtp-android example app.
Check out the Setup Guide for XMTP Notification Server.
Firebase Cloud Messaging
You can use a Firebase Cloud Messaging server and an example push notification server to enable the xmtp-react-native example app to send push notifications.
Perform this setup to understand how you might want to enable push notifications for your own app built with the xmtp-react-native SDK.
Create an FCM project.
Generate FCM credentials, which you need to run the example notification server. To do this, from the FCM dashboard, click the gear icon next to Project Overview and select Project settings. Select Service accounts. Select Go and click Generate new private key.
This will download a JSON file containing your service account credentials. e.g.
xmtp-web-firebase-adminsdk-sd34dsd-d34dcdf3.jsonGet the FCM project ID and FCM credentials you created earlier and run:
YOURFCMJSON=`cat YOURFIREBASEADMINFROMSTEP4.json`dev/run \
--xmtp-listener-tls \
--xmtp-listener \
--api \
-x "production.xmtp.network:5556" \
-d "postgres://postgres:xmtp@localhost:25432/postgres?sslmode=disable" \
--fcm-enabled \
--fcm-credentials-json=$YOURFCMJSON \
--fcm-project-id="YOURFCMPROJECTID"You should now be able to see push notifications coming across the local network.
Decode a notification envelope
You can decode a single Envelope from XMTP using the decode method:
- JavaScript
- React
- Kotlin
- Swift
- Dart
- React Native
Not applicable
Not applicable
val conversation =
    client.conversations.newConversation("0x3F11b27F323b62B159D2642964fa27C46C841897")

// Assume this function returns an Envelope that contains a message for the above conversation
val envelope = getEnvelopeFromXMTP()

val decodedMessage = conversation.decode(envelope)
let conversation = try await client.conversations.newConversation(
  with: "0x3F11b27F323b62B159D2642964fa27C46C841897")

// Assume this function returns an Envelope that contains a message for the above conversation
let envelope = getEnvelopeFromXMTP()

let decodedMessage = try conversation.decode(envelope)
Code sample coming soon
Code sample coming soon
Android
For Android apps, see Enable the xmtp-android example app to send push notifications to explore how you might enable push notifications for your own app built with the xmtp-android SDK.
Checkout the
push-notifications-examplebranchAdd your
google-services.jsonfile to theexample/android/appfolder if you haven't already done it as a part of the FCM project creation process.Uncomment
apply plugin: 'com.google.gms.google-services'in the example app'sbuild.gradlefile.Uncomment
classpath('com.google.gms:google-services:4.3.15')in the top level of the example app'sbuild.gradlefile.Sync the gradle project.
Replace
YOUR_SERVER_ADDRESSin thePullController.tsfile. If you're using the example notification server, it should be something likeYOURIPADDRESS:8080since the Android emulator takes over localhost.Change the example app's environment to
productionin both places inAuthView.tsx.Replace
YOUR_FIREBASE_SENDER_IDin thePullController.tswith your sender ID from Firebase.
iOS
For iOS apps, see the xmtp-ios example app and notification service to explore how you might enable push notifications for your own app built with the xmtp-ios SDK.
When building an iOS app with XMTP, you might want to suppress certain Apple push notifications. For example, you should suppress push notifications for a user's own messages.
You can do this using the com.apple.developer.usernotifications.filtering entitlement.
To use this entitlement, you must first receive permission from Apple. To request permission, use the app owner's Apple developer account to submit this application: https://developer.apple.com/contact/request/notification-service.
The approval process can take 2-3 weeks or longer.
Here are some sample answers to help you complete the application:
- App name: [Your app name]
- App Store URL: [Your app store URL]
- Apple ID of App: [Your app ID]
- App Type: Messaging
- Does your app provide end-to-end encryption? Yes
- Explain why existing APIs are not adequate for your app: The existing APIs always show some sort of notification when a push comes in. We don't want to show a notification for a user's own messages.
- Explain why your app doesn’t show a visible notification each time a push notification is received: The server delivering notifications only knows of the existence of a conversation. It does not know who the sender or recipient are. That data is decoded on the device in the extension. As a result, it sends a push notification for every message that occurs in the conversation. We want to filter out notifications for notifications that the user sent.
- When your extension runs, what system and network resources does it need? We might need to make a GRPC request in order to load additional information about a conversation. This is only necessary when we haven't stored the conversation details locally, which is expected to be less common than being able to just decode the conversation locally.
- How often does your extension run? What can trigger it to run? The extension will run whenever a message is sent or received in a conversation. The frequency will depend on how active a user is.
React Native
See A practical guide to building a push notification client. This guide is based on a React Native example, but can serve as a reference for how you might provide a notification client in your language of choice.
Best practices for notifications
Display push notifications only for messages sent to a user. In other words, do not send a push notification to a user about a message they sent. To do this, filter out messages sent by the user and don't send push notifications for them.
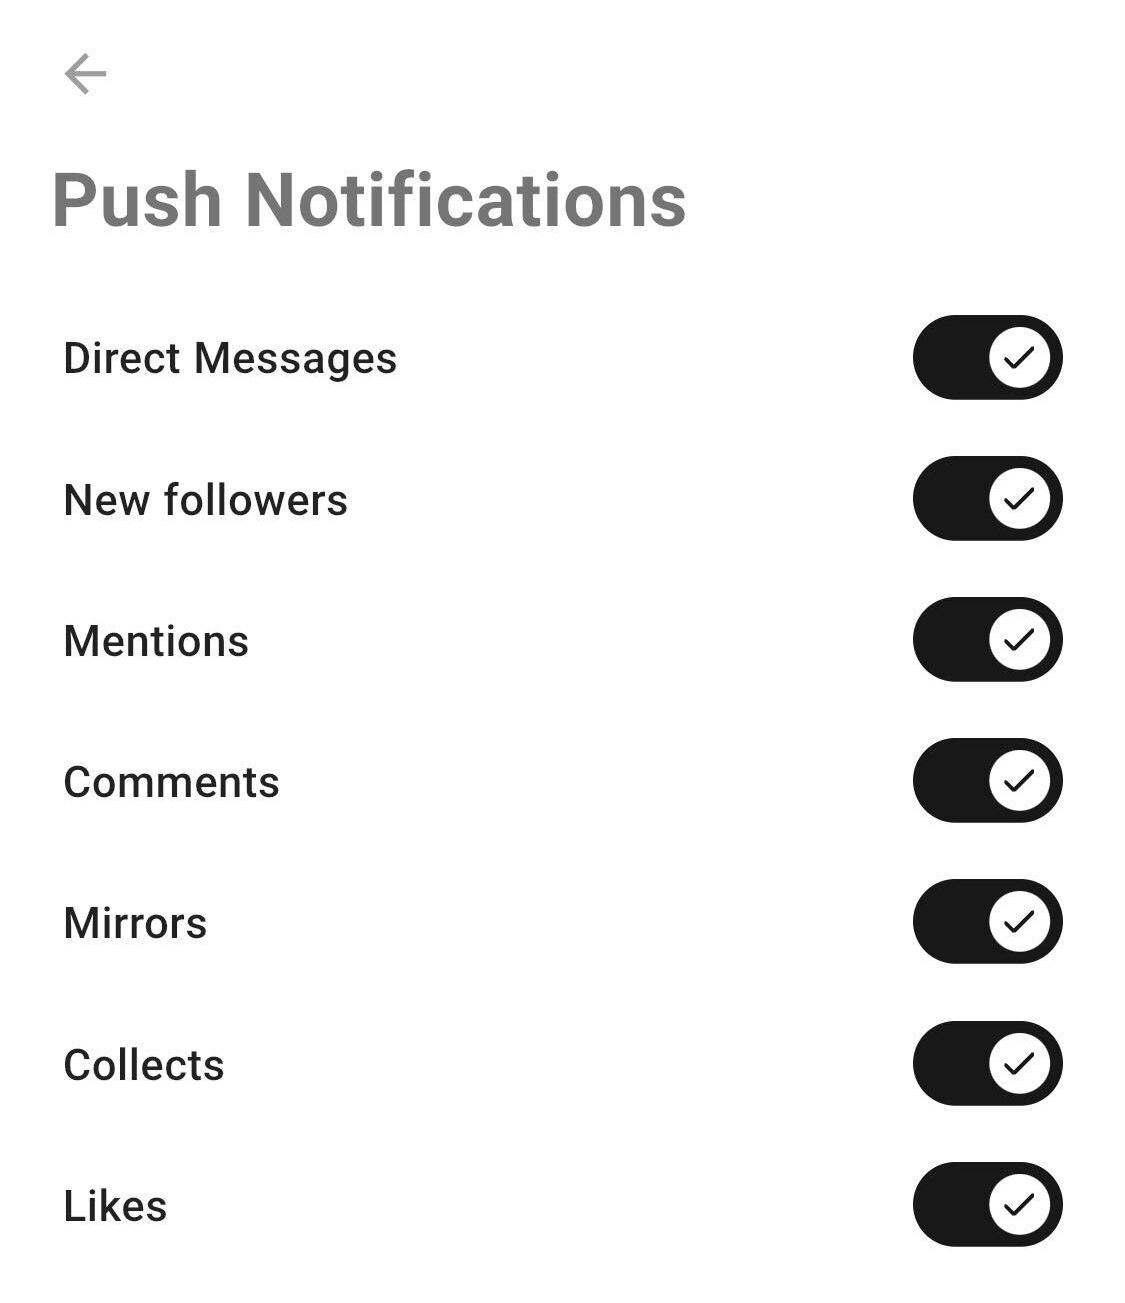
Provide a separate setting for enabling and disabling direct message push notifications. For example, if you’re building a Lens app, provide a setting for XMTP push notifications that’s separate from Lens push notifications for posts, comments, likes, and so forth. For example, here are push notification settings in the Orb app:

Decrypt messages for push notifications so you can display the contents within the notification. For example, here is a decrypted push notification provided by the Converse app.

Display badges that indicate the presence of new notifications, messages, or conversations to help with engagement and interaction success.
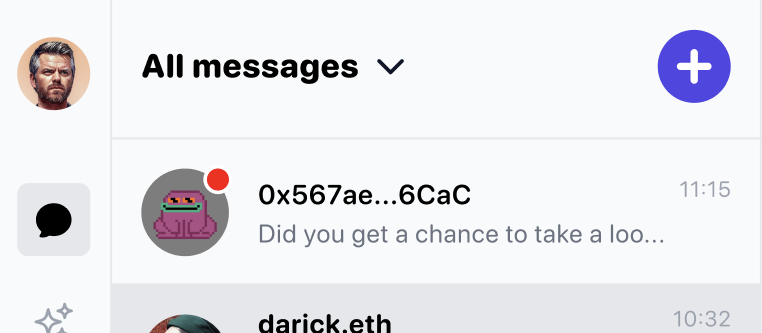
Here is a conversation icon badge showing the presence of an unread message:

Along these lines, be sure to unbadge conversations in which the user sent the latest message to avoid displaying unnecessary badges as users send messages across different apps. The action of sending the latest message implies that the user has seen the conversation.
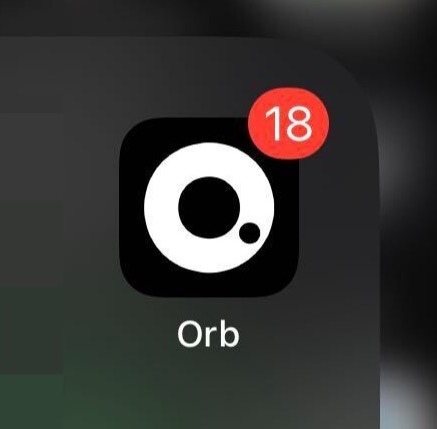
Here is an app icon badge showing the number of unread messages in the Orb app:


